Contact Us
 (877) 248-1631
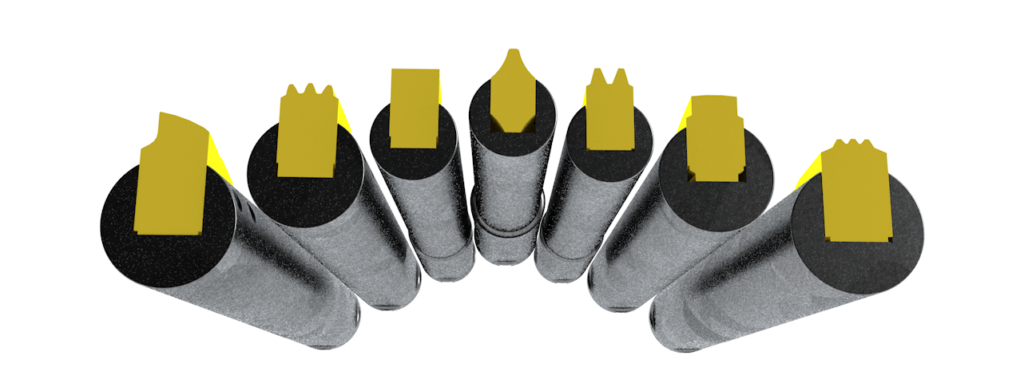
Rigidity is very important when machining. This, of course, also applies to broaching. A lack of rigidity creates vibration. Vibration causes tool wear. There are three things to think about when discussing the rigidity of your setup. These are tool rigidity, part rigidity, & fixture rigidity.

Broach Tool rigidity
This refers solely to how the tool is mounted in your CNC machine. CNC Broach tool holders are usually mounted to a turret in a CNC lathe or in a CNC mill holder mounted to the spindle. Clamping the shank of the tool with a worn out tool holder or using only a single set screw to clamp the tool will almost certainly cause issues. To find out more about this check out our blog post titled “Keys to Using CNC Broach Tools”. To learn more about clamping the tools in your CNC machine read our blog post titled “What is the best clamping method when mounting a CNC Broach Tool?” For the most rigid tool setup we recommend the following:
- Keep the tool as stubby as possible. Don’t stack multiple holders or bushings together. The further the tool hangs out, the less rigid it will be. A broach tool clamped in an ER collet extension hanging out of a worn out end mill holder will most likely deflect, whereas a broach tool mounted in a Hydraulic holder will not.
- Use a split boring bar block with a split sleeve when in a lathe. A split sleeve connection clamps 360 degrees around the shank of the tool for a very rigid connection.
- Do not use a VDI connection when on a lathe. The tool hangs out too far from the face of the turret which allows for deflection.
- If clamping the tool in a solid sleeve or in an end mill holder, always use a minimum of 2 set screws (we recommend 4). Always align the set screws with the top face of the insert since tool pressure will be in the same direction (from the top of the insert)
- Always use a solid stop behind the butt of the tool
Part Rigidity
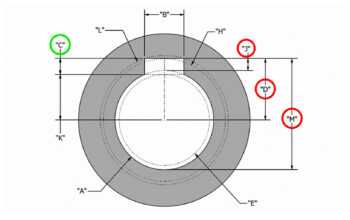
This refers to the rigidity of the part you are broaching. Now that you’ve set up the tool holder to be as rigid as possible you should be good right? Wrong! If you’re broaching an unsupported, thin walled part, you still could get vibration in the part. If the part you are broaching moves or flexes it could also vibrate. A thin walled part could potentially ring like a bell and must be dampened by your fixturing. Vibration, as we mentioned before, causes tool wear. A thin walled part must be properly supported. Always keep the part stubby and clamp the part near where you are broaching. For example if you are broaching a thin walled tube in a 3 jaw chuck, always clamp over the keyway to prevent the part from flexing. Don’t allow the part to hang out more than is required.
Fixture Rigidity
The last thing we need to discuss is fixture rigidity. This, more than anything else, can be easily forgotten. Fixtures should be designed with rigidity in mind. Keep parts clamped against solid surfaces and keep them supported. Some examples of this are as follows:
- When clamping a part in a vise, always broach so the tool pressure pushes toward the solid jaw. Do not broach with the tool pressure pushing towards the movable jaw.
- Never allow the part to hang out of a fixture more than it needs to. When boring jaws in a 3 jaw chuck, push your part in as far as possible and always have a stop behind the part